
Empower: Self-Defense – Health Week
 During Health Week, CCU held various activities for students to help them improve their spiritual, mental, emotional, and physical health. One of these events included a self-defense class with Katia Chavez.
For those who do not know Katia, she is a senior Pre-Physical Therapy student here at CCU. She has been training with martial arts for the past 10 years. Consistently, she has been studying Kenpō 5.0. Kenpō 5.0 is a mixed martial art that focuses on both stand-up fighting and Brazilian jiu-jitsu. Her study is a curriculum based with different belt levels that includes different techniques, sets and forms. The sets and forms help with hand and eye coordination while the techniques are real life scenario-based ranging from punch attack, kick attack, group attack, or weapon attack. She also mentioned that Kenpo also focus on the six point of contact, hands, elbows, knees, and feet.
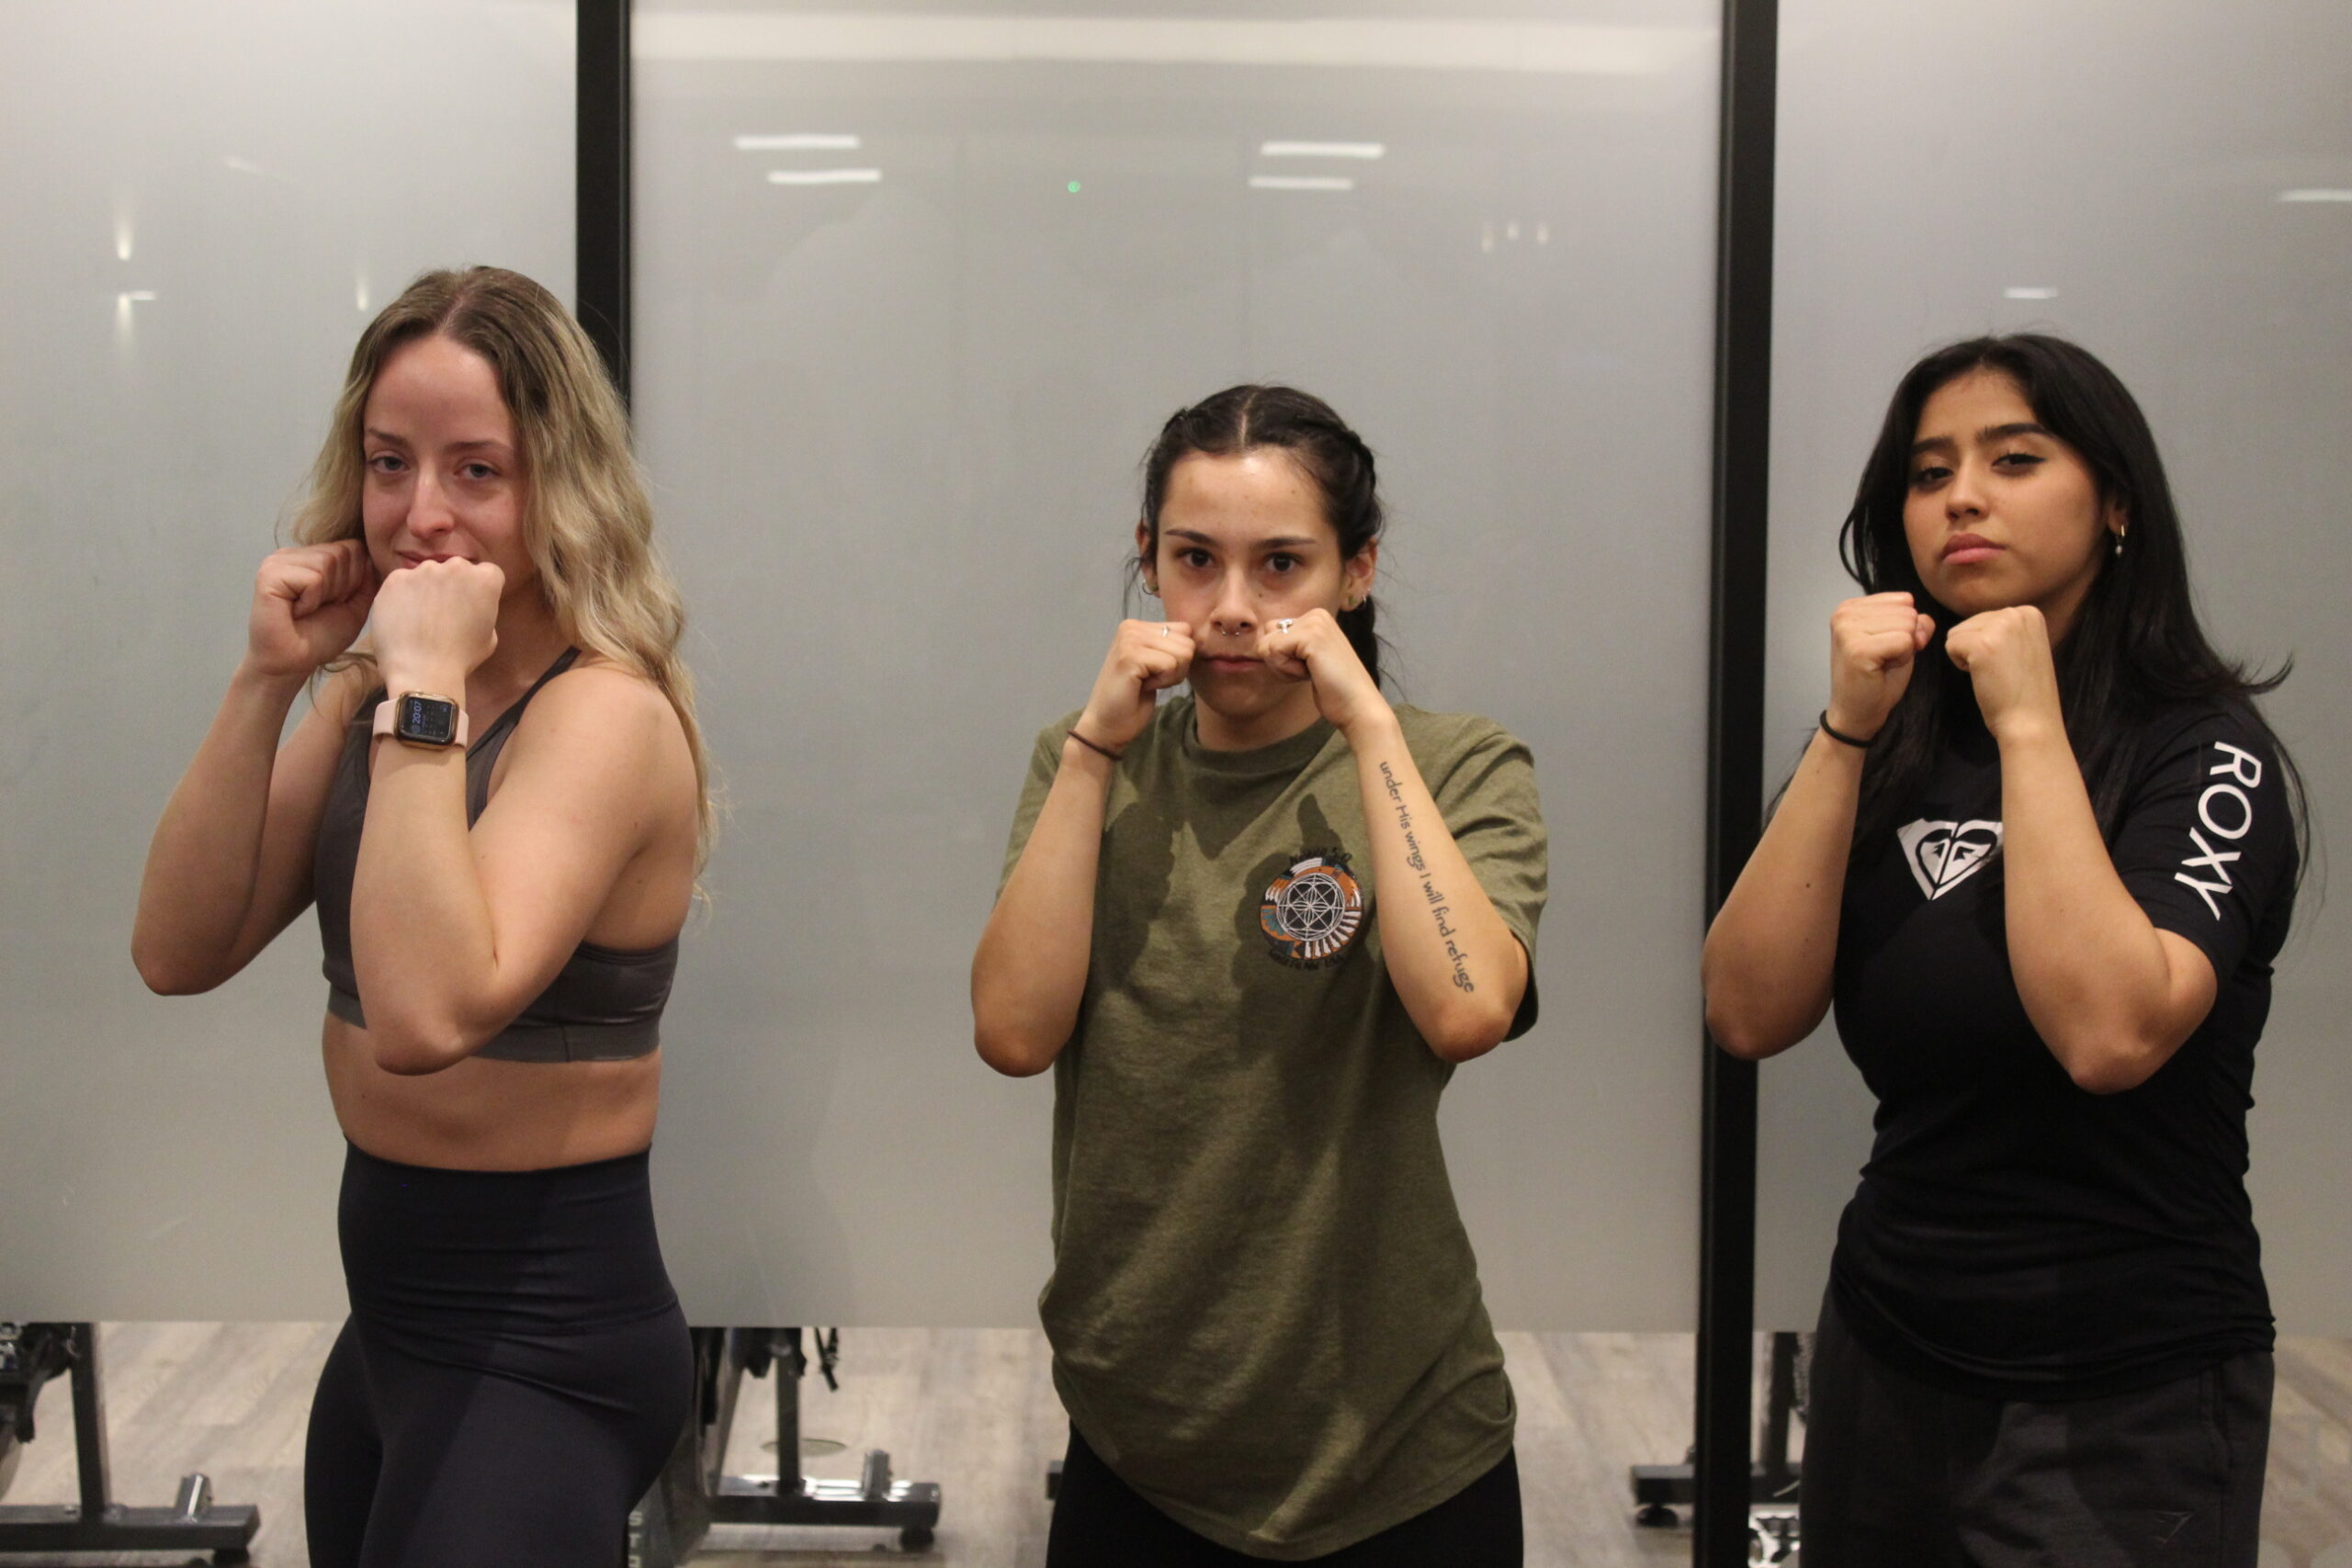
 Something to keep in mind when conducting these techniques, make sure that your hands are protecting your face. Most attackers will go for the face, however, having both of your hands by your face at all times will help you be ready to block and attack!
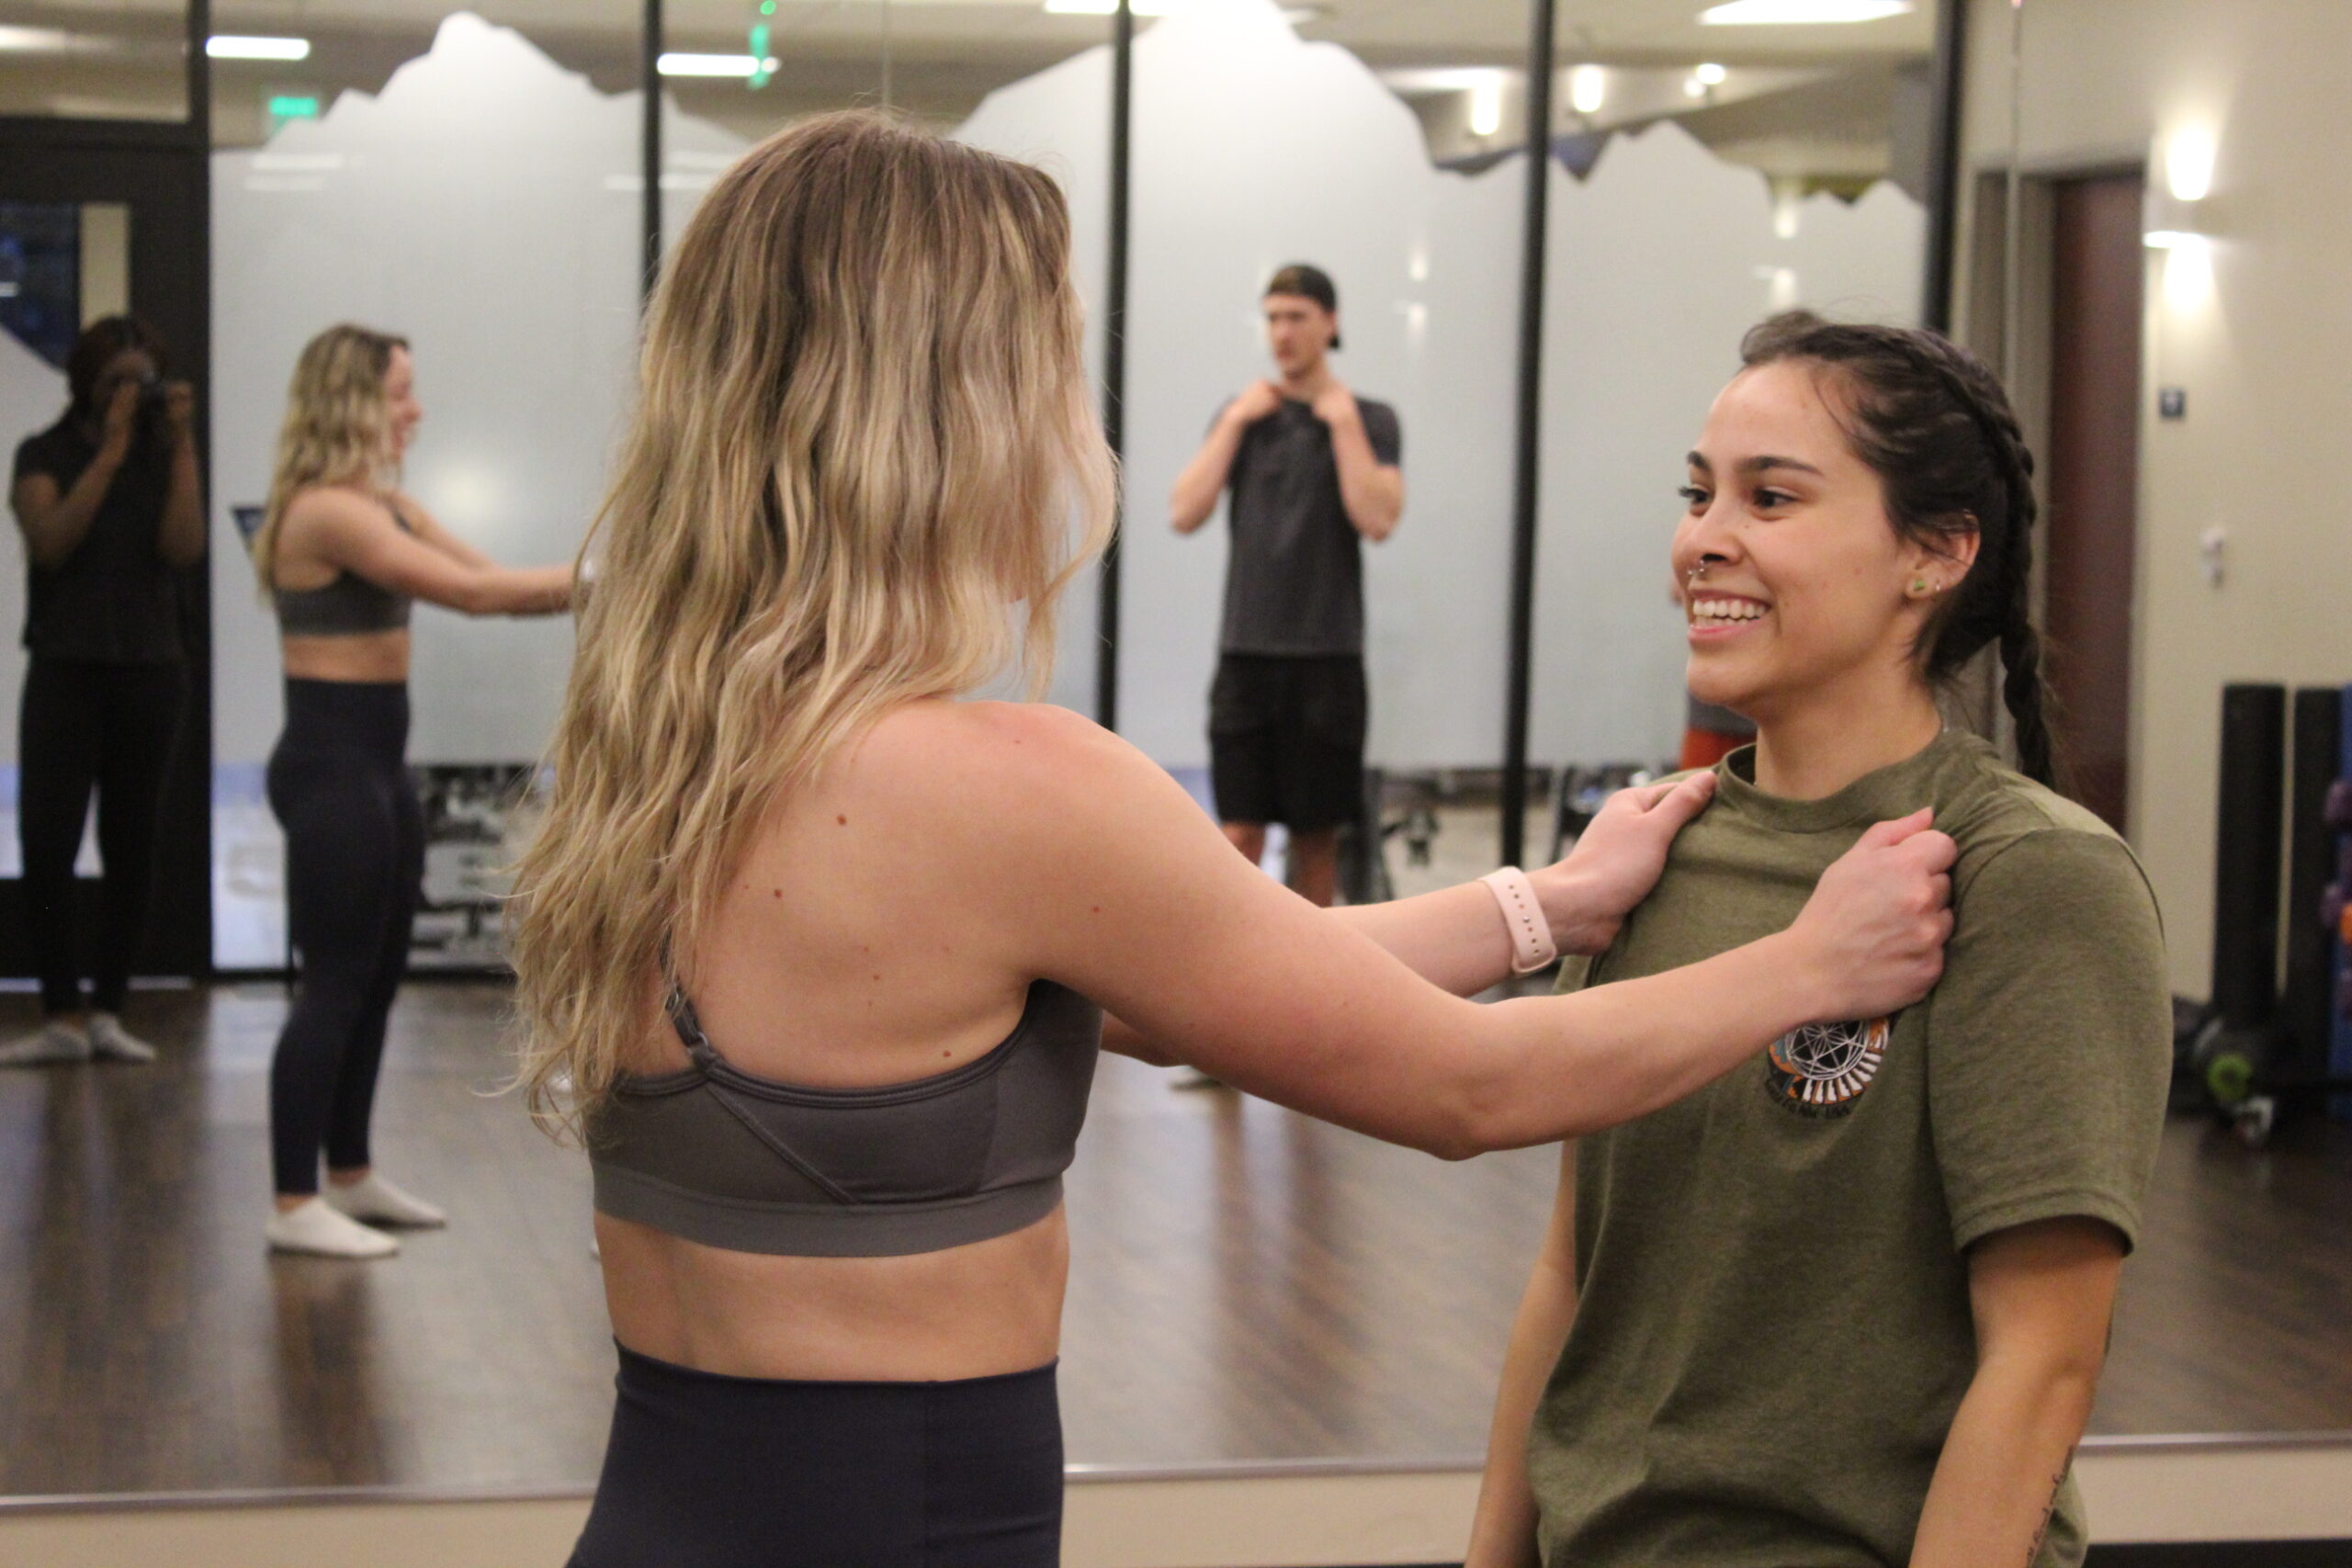
During our class, Chavez taught us what they call a “fighting stance” which is a neutral position in which we are going to be in if we were ever in a fight.
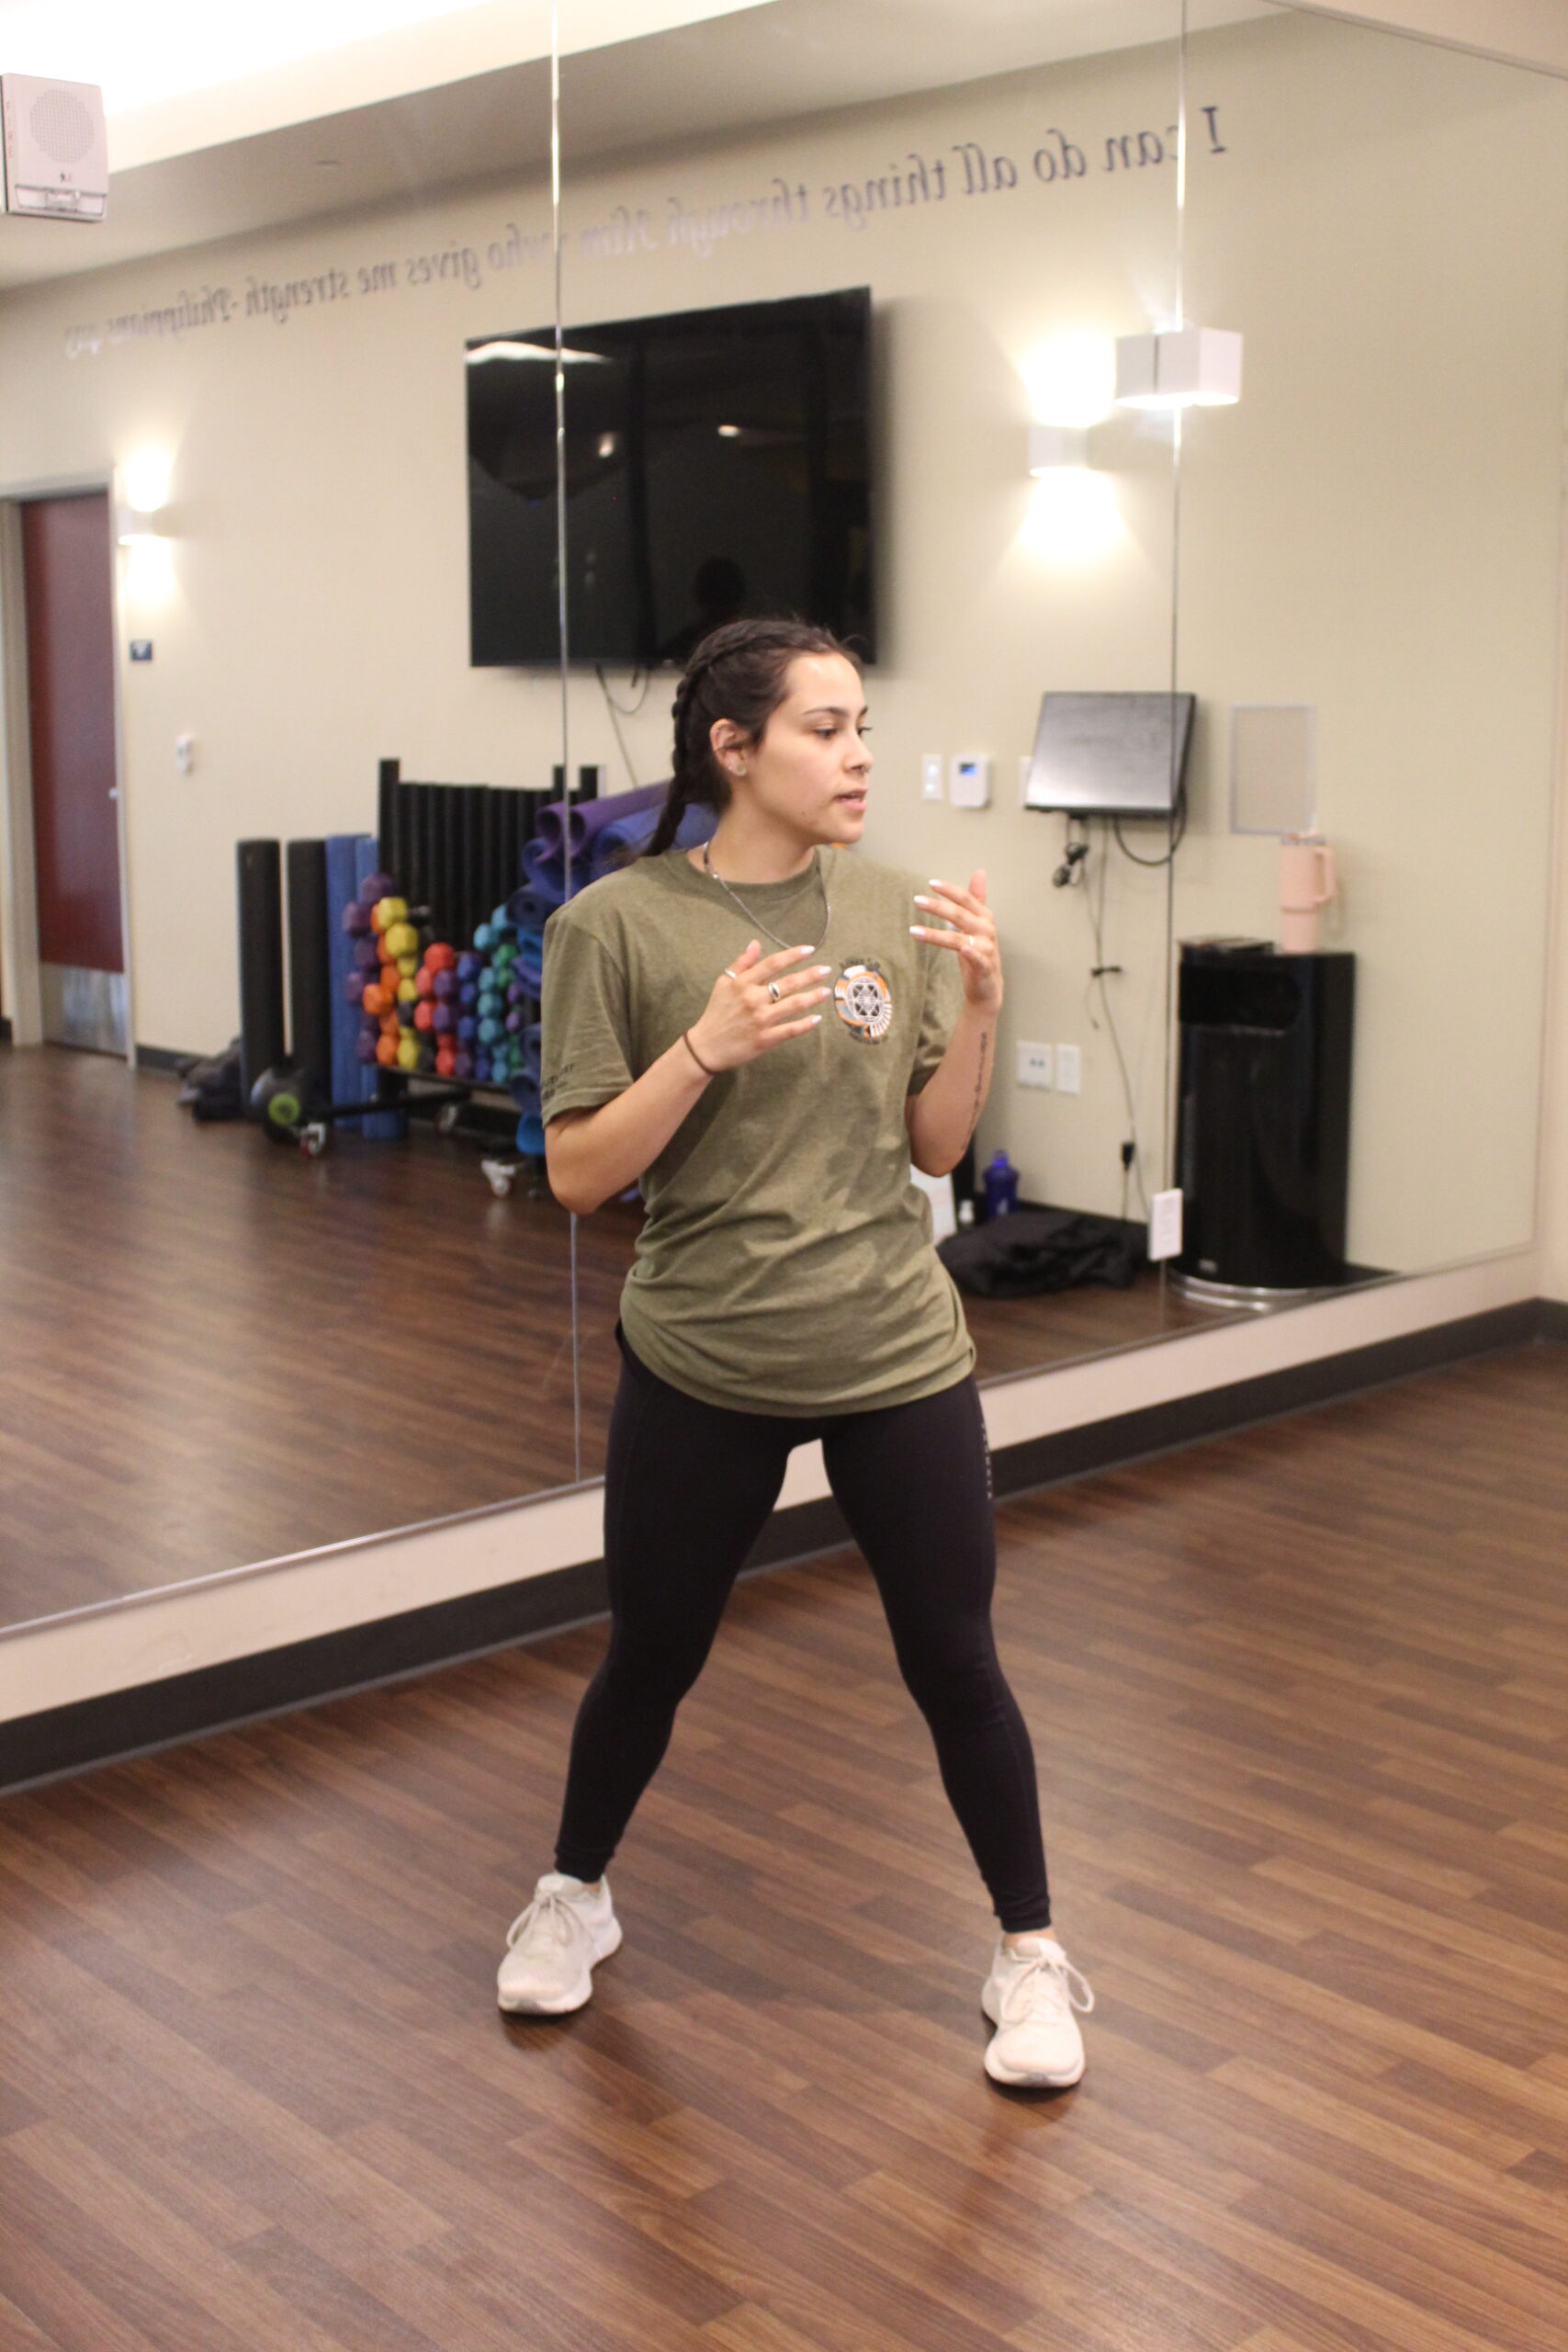 How to get in a proper fighting stance
A fighting stance is to encourage optimal stability and just to be in a position so that we can execute a variety of attacks, kicks, knees, etc. First, we started with our right foot being in front. In order to get our stance spacing correct, Chavez had us do a lunge where our knee was bent at a 90 degree angle. When we got up from this stance, our heel of our left foot replaced where our left knee was bent. Your right foot should have remained constant. Now this is a general stance, you could either move your left foot backwards or forwards so that you were comfortable in your stance.
Some Kickboxing Drills:
Jab-Cross
This technique would have whichever foot being in front, the jab will be done with the same hand. For example, if your right foot is in front for your fighting stance, your jab would be conducted with your right hand. You would take your right hand and punch forward. Then you would use your left hand to conduct the cross. During the cross, your left foot would be lifted slightly as you are pivoting your body to punch in the right direction. This motion can be confusing at first, but after practicing a bit, your motions should be come swift and quick.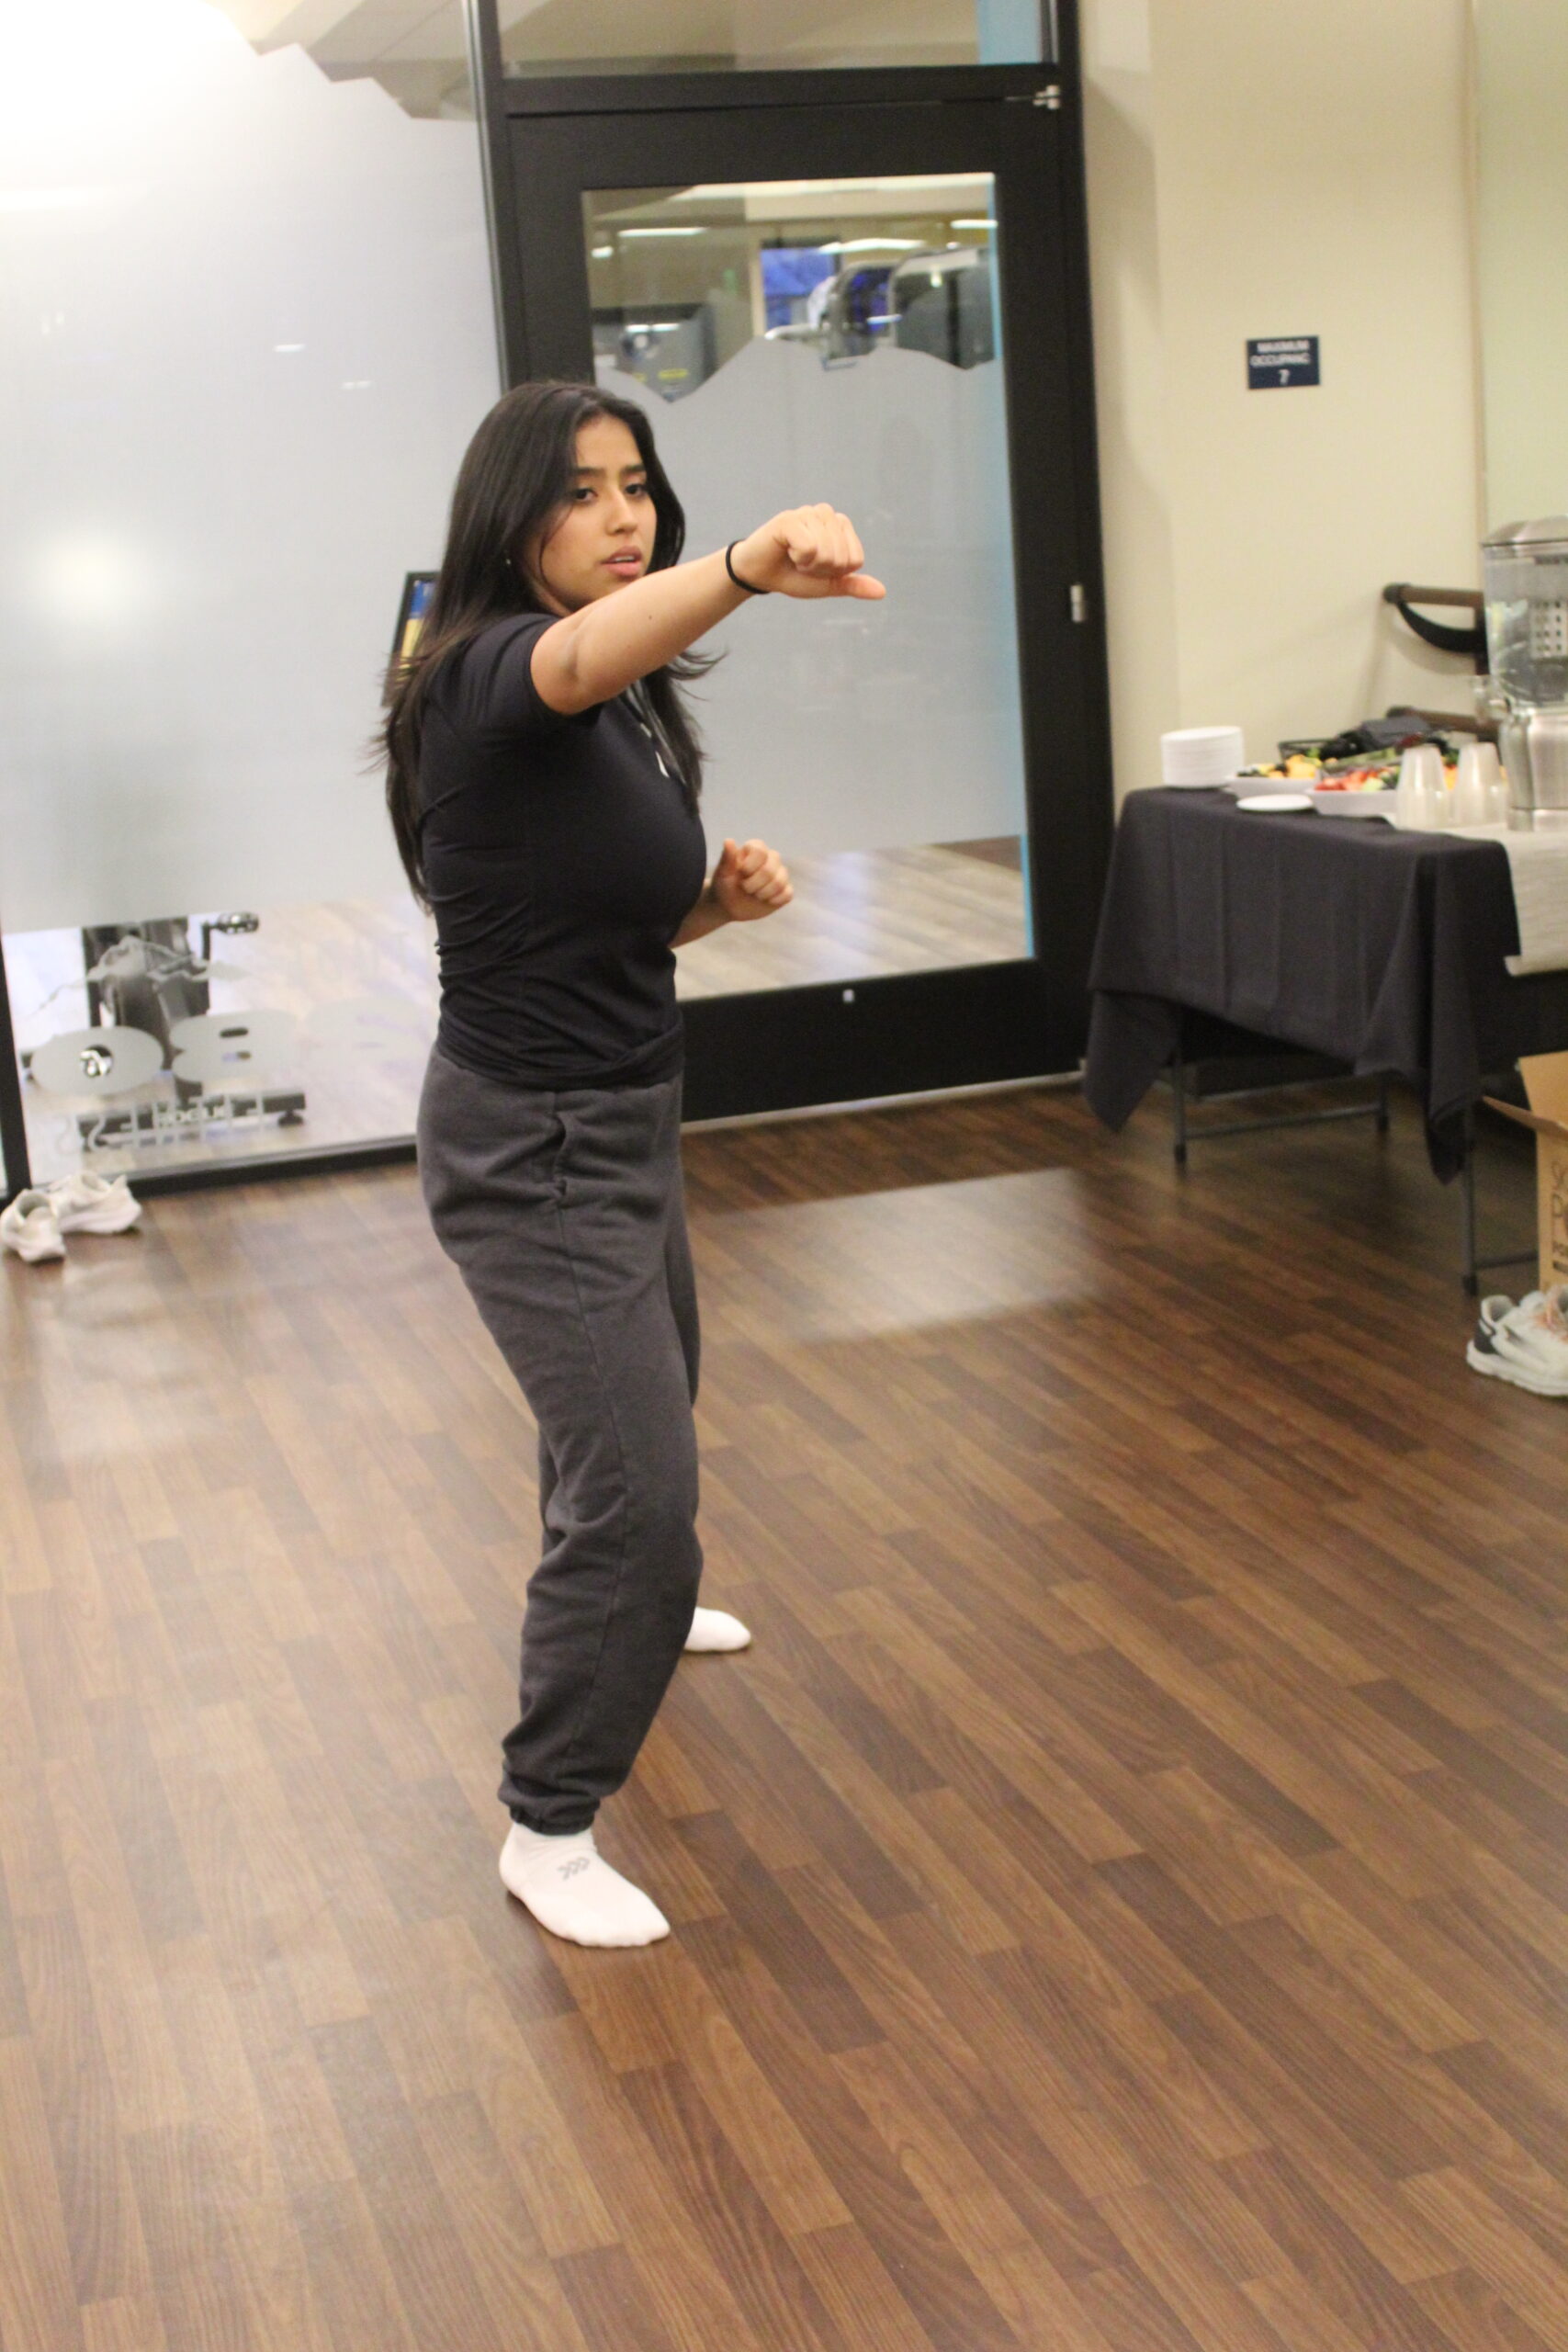
Jab-Cross-Hook
In this variation, Chavez taught us how to conduct a proper hook. You would do all the steps for A Jab-Cross and then add a Hook. For this example, your right foot is still in front. The Hook would include taking your right hand and swinging it around to punch in the right direction almost like you are hugging the person. As you are doing this motion, your left foot is being planted down from the cross technique.
Defensive Front Kick
Also known as punch kick, this kick is used to primarily gain distance between you and the attacker. This kick is done in four different steps. First, using the proper fighting stance with your right foot forward, lift your right foot into a 90-degree angle. After that, extend your leg to make contact with your attacker and then bring your leg back to the 90-degree angle. Finally, plant your right foot back on the ground to your proper fighting stance. After doing this technique a couple of times, the motions become more fluid and comfortable.
 Situation #1
This scenario will take place if an attacker is using the two-hand lapel attack. The lapel attack is basically when an attacker is grabbing you at both of your shoulders. First, you would you’re your left hand to pin both of their hands to yourself. You would do this by taking your left hand, making and elbow and pushing down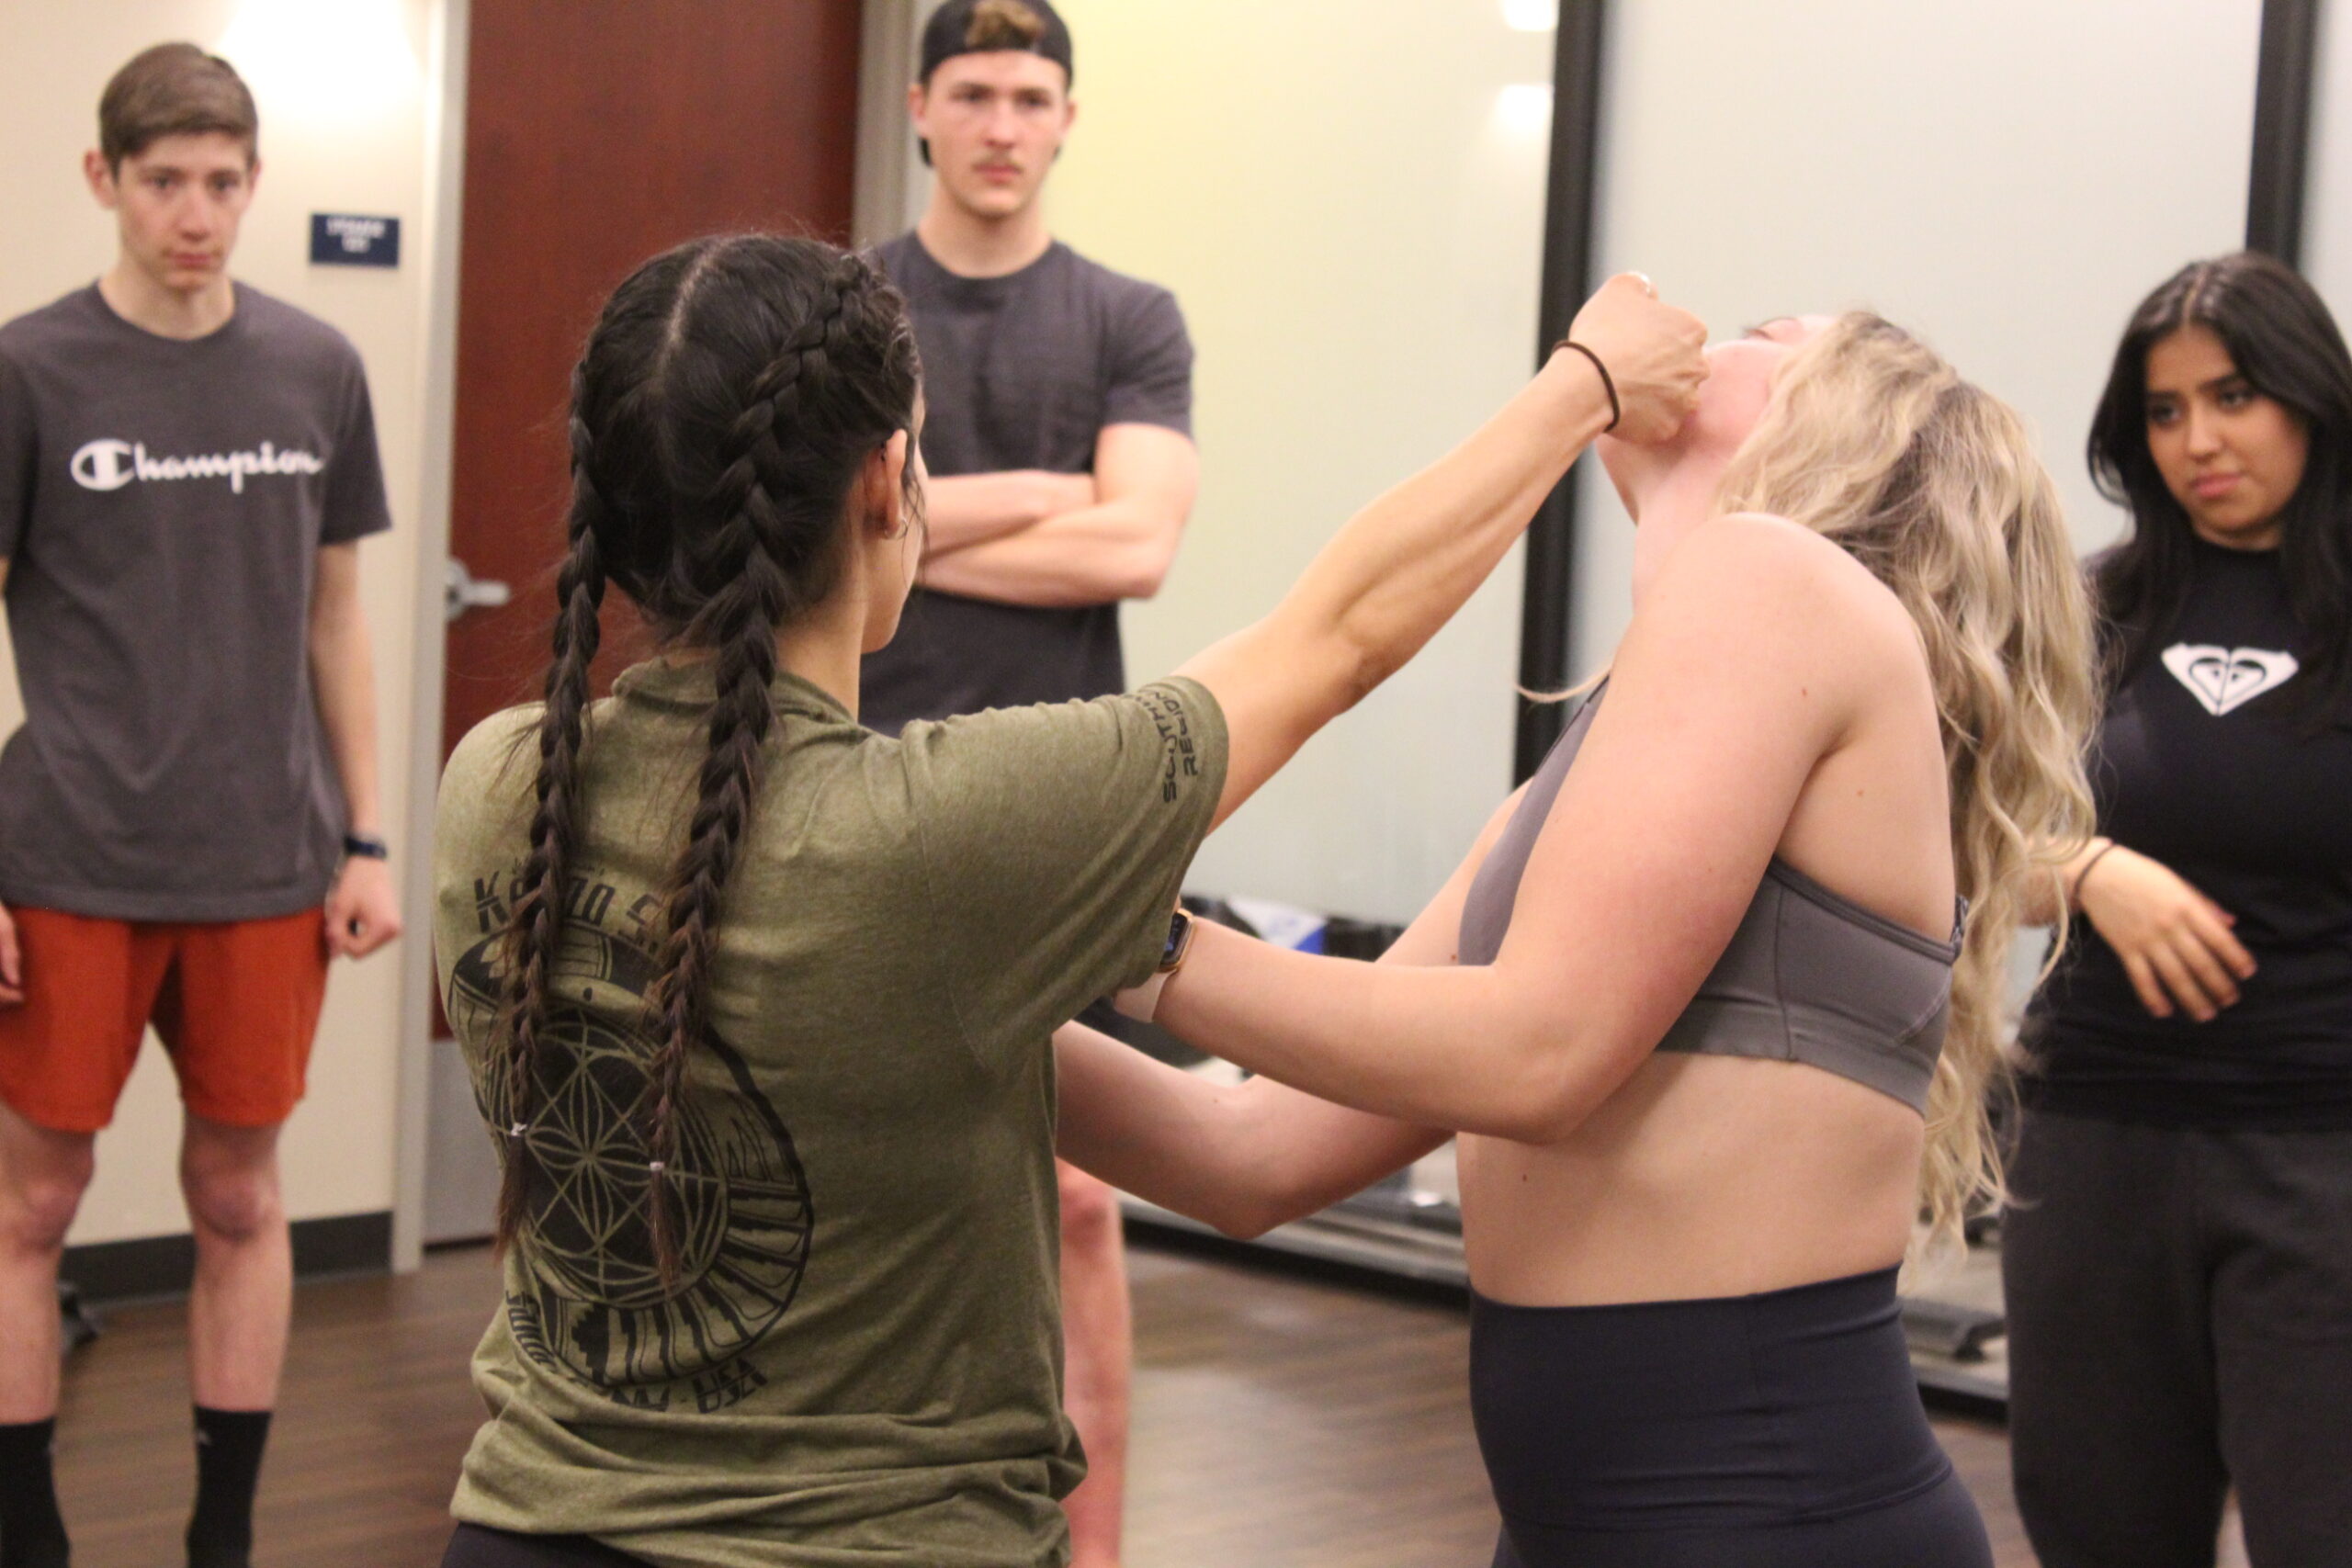 eliminating their mobility. This will allow them to not punch or elbow you. Then you step forward into a proper fighting stance in between their leg and execute a jab to their face. After that jab, you will drop your elbow bringing their head down canceling their depth and executing a right elbow to the face. Chavez also mentioned that you can also use this technique if an attacker is doing a two-hand push.
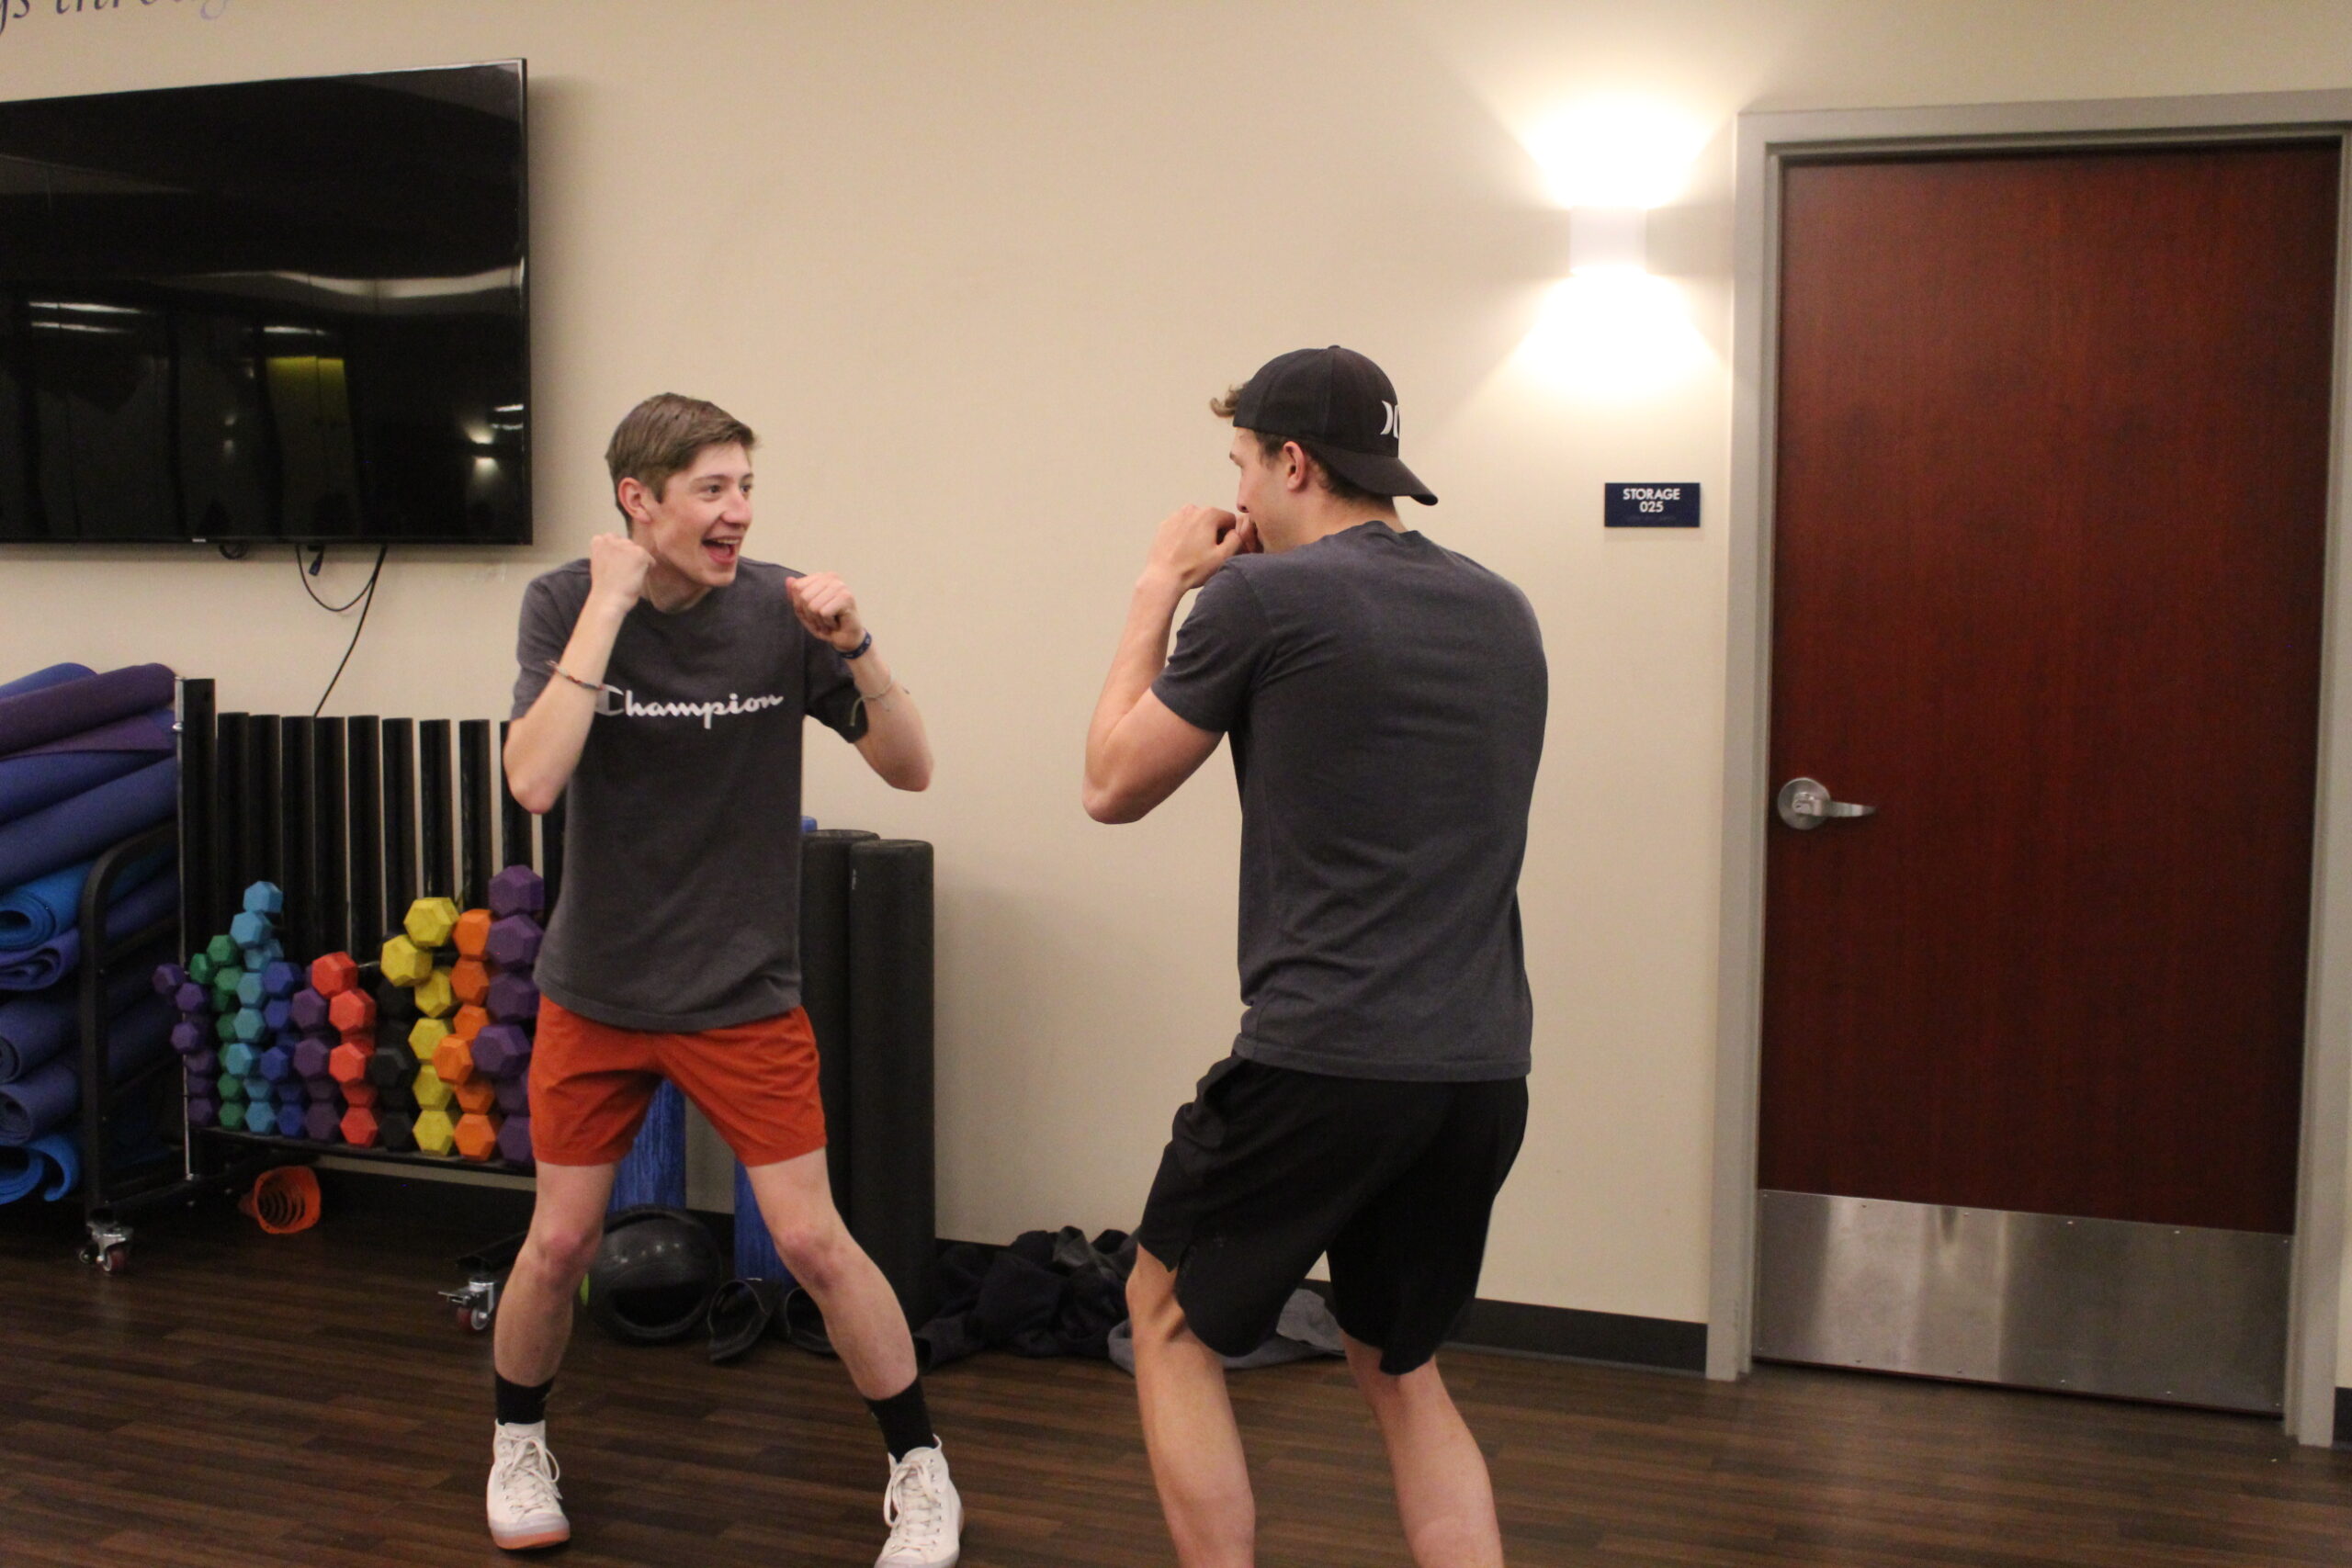
 Before we ended the night, we went to the punching and and did some of the kick-bocking drills we learned.
There were two important tips from Chavez before the training ended. These are:
Tip#1 – You never want to be the instigator
Chavez wants to remind us to use the “open hands” technique. This is a technique used to show that you are not seen as the aggressor but rather a way of setting initial boundaries. This is so crucial, do NOT forget to do this!
Tip #2 – Distance might not always be your friend.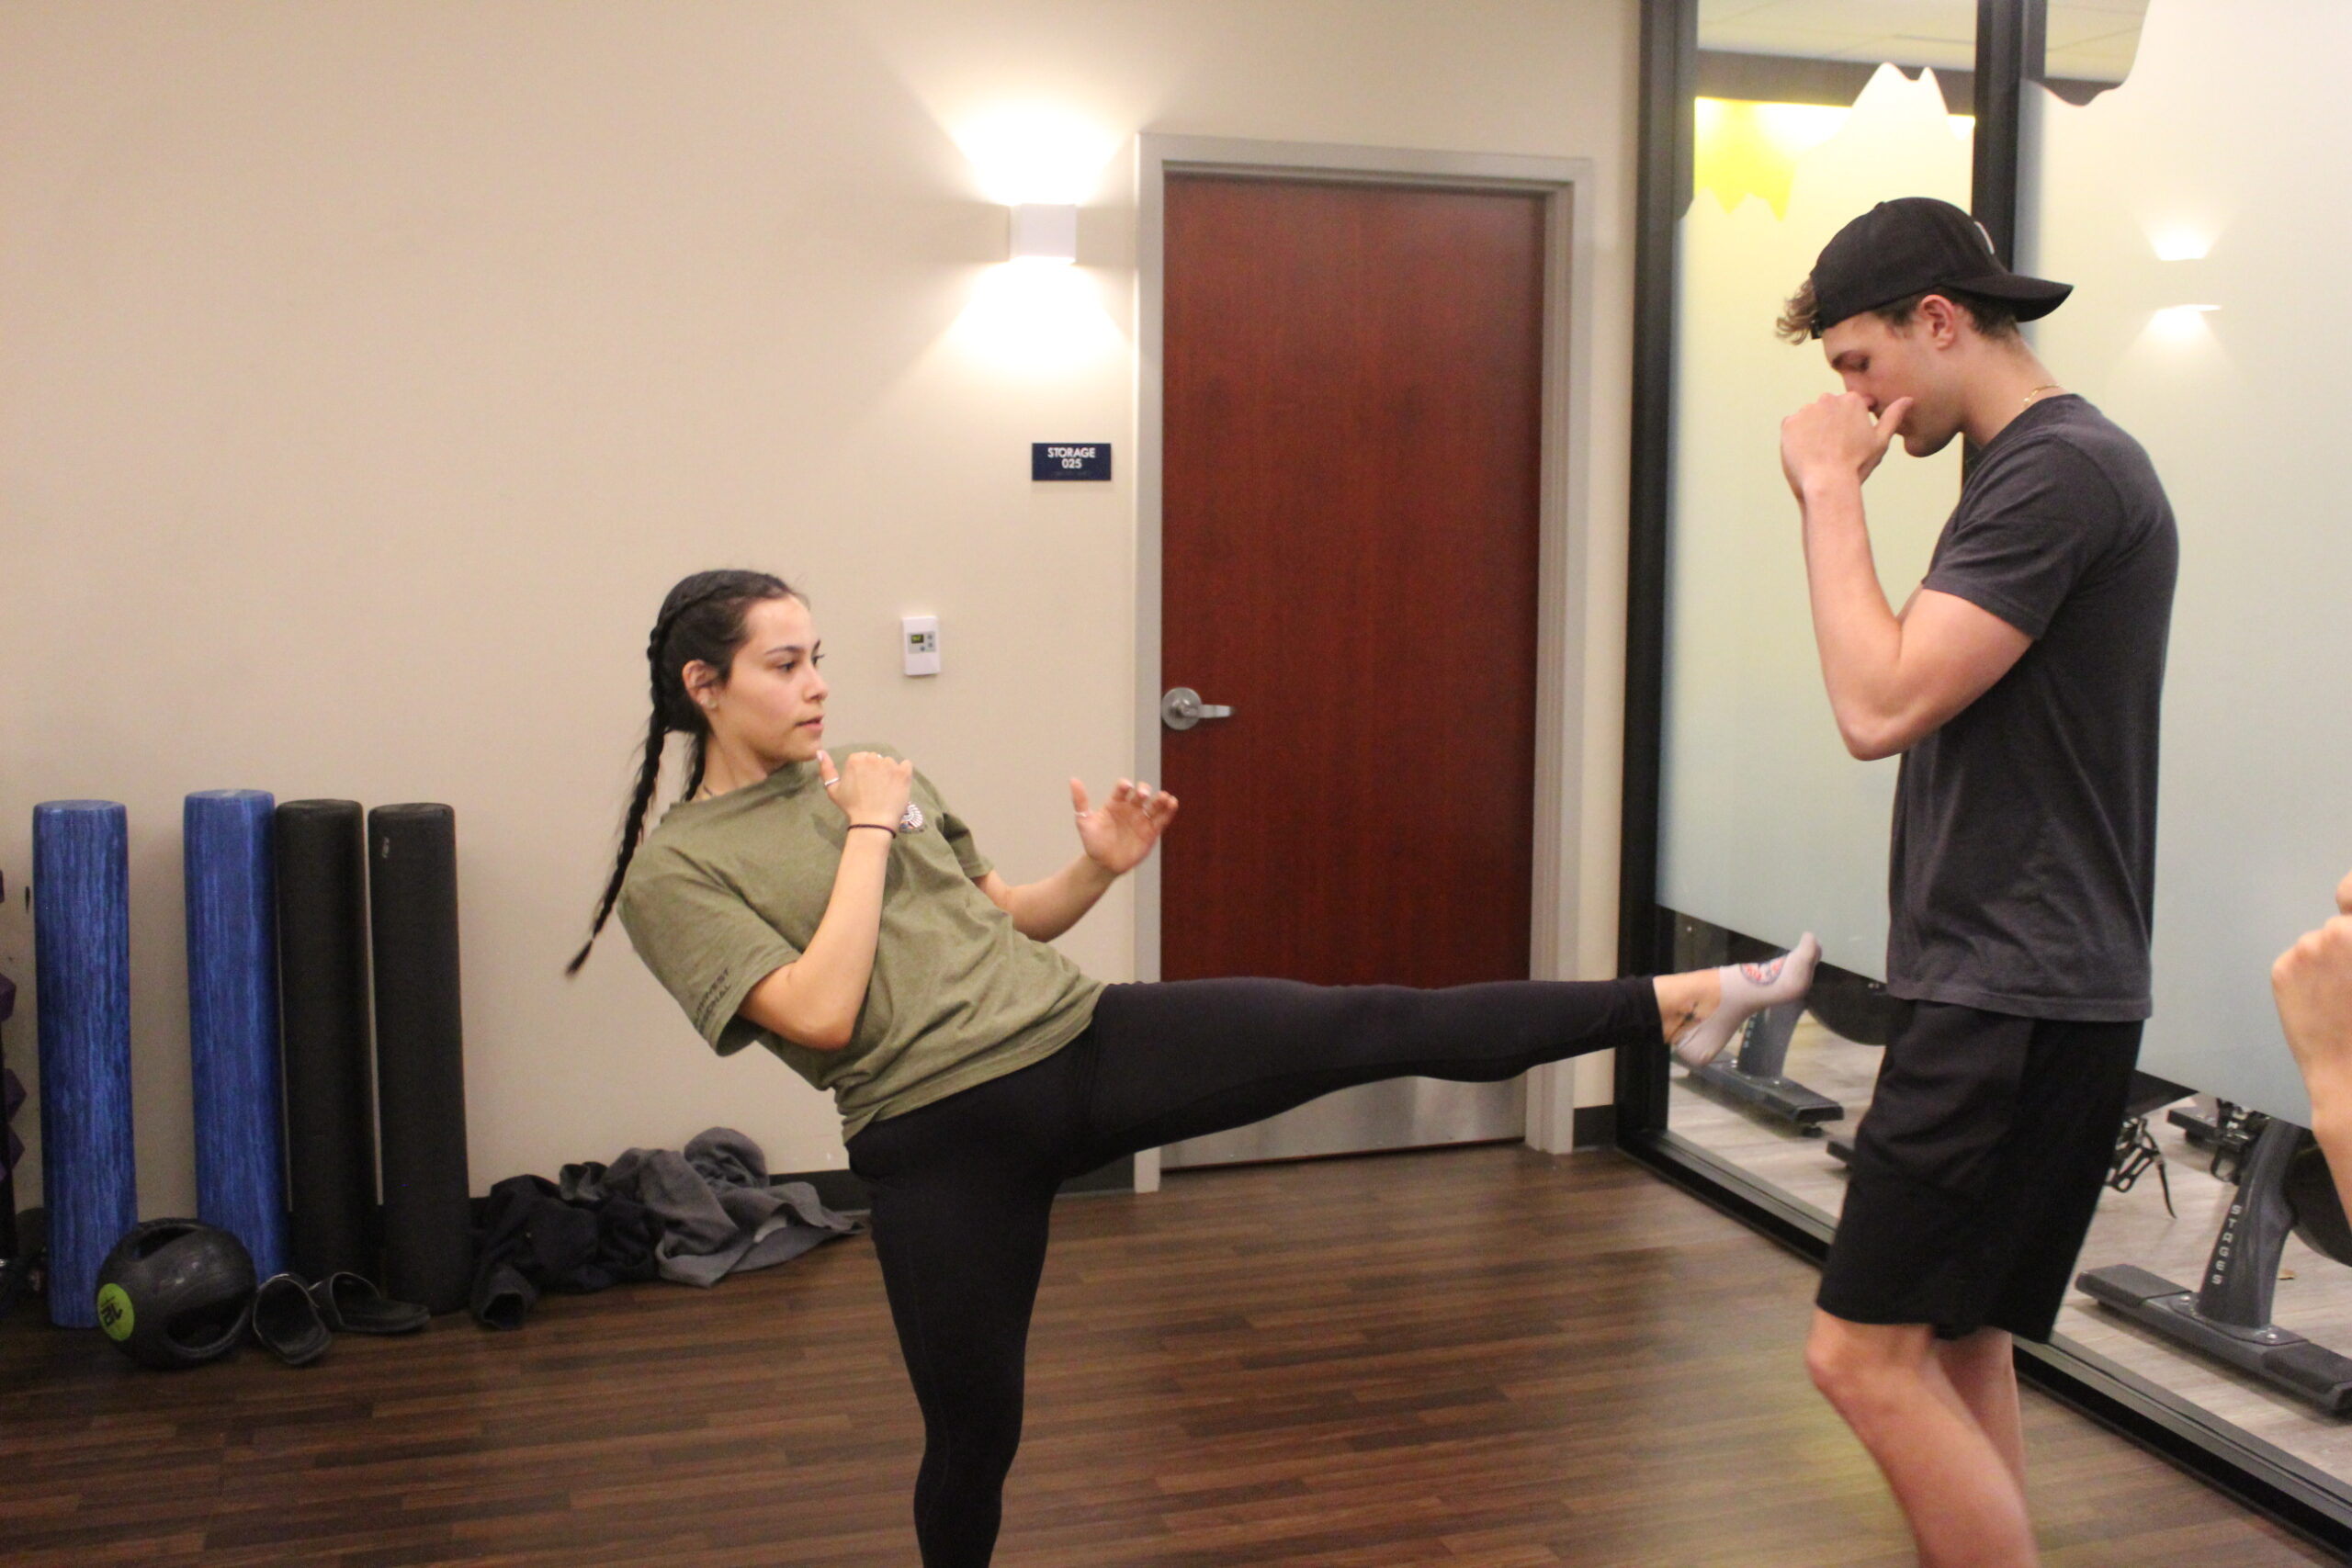
Creating distance between you and the attacker is ideal just because it gives you time to deescalate the situation. However, it can be beneficial be within closer proximity of your attacker in terms of self-defense!
Thank you so much Katia for this amazing opportunity to learn self-defense! If you felt this was beneficial, be sure to come to the Group Fitness Room on Thursdays from 7-8pm! Katia will be holding self-defense classes for us until the end of the semester!